Adding a Pool
Follow these steps to define a Pool for a subnet:
- On the General Properties page of a subnet, click the Pools tab.
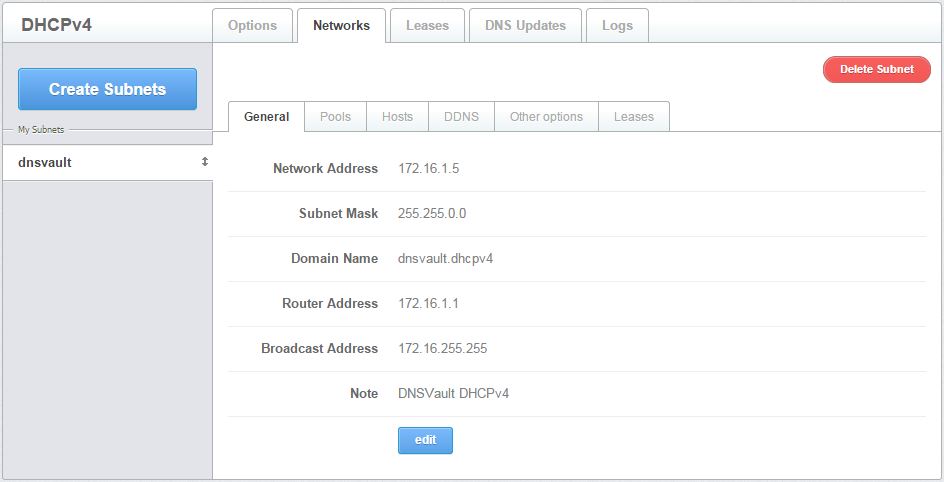
Figure 3.1.2.2.1.1-a: The General Properties page of a Subnet
- Clicking the Pools tab displays a table listing all the pools that have been defined for this subnet. If you are defining a pool for the first time, the table is empty.
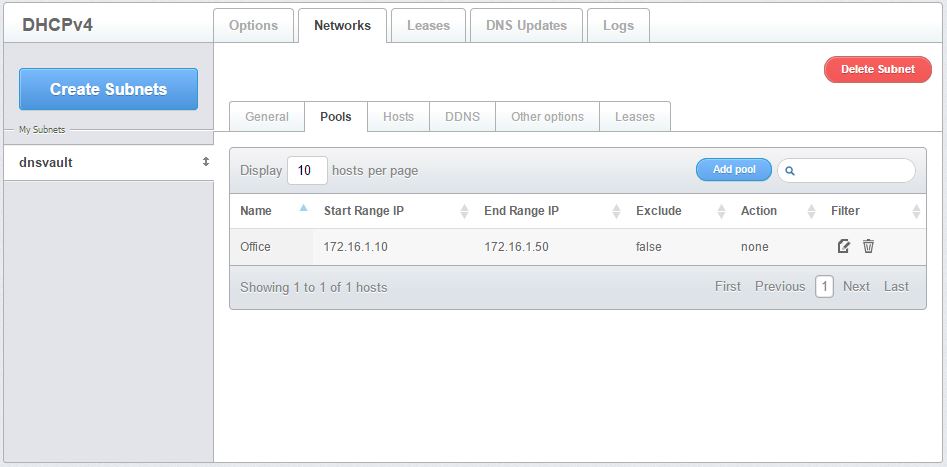
Figure 3.1.2.2.1.1-b: The Pools page showing a table listing all pools defined for a particular subnet
- To define a new pool, click the Add Pool button. This displays a form where you can set the name of the pool and the range of IP addresses that may be dynamically allocated within the subnet.

Figure 3.1.2.2.1.1-c: The Add Pool form
Enter a Name for the pool in the field provided.
Enter the first address of the pool in the Start IP Range field.
Enter the last address of the pool in the End IP Range field.
NOTE: Ensure the pool falls within the range of the subnet.
Click the Exclude Range checkbox if you want the IP range not to be included.
Select from the drop-down list a type of filter which is added in the Filters tab of the Global DHCP Options page. The default is None.
Provide a short description of the pool in the Note field.
Click the Save button to create the pool. Otherwise, click Cancel.